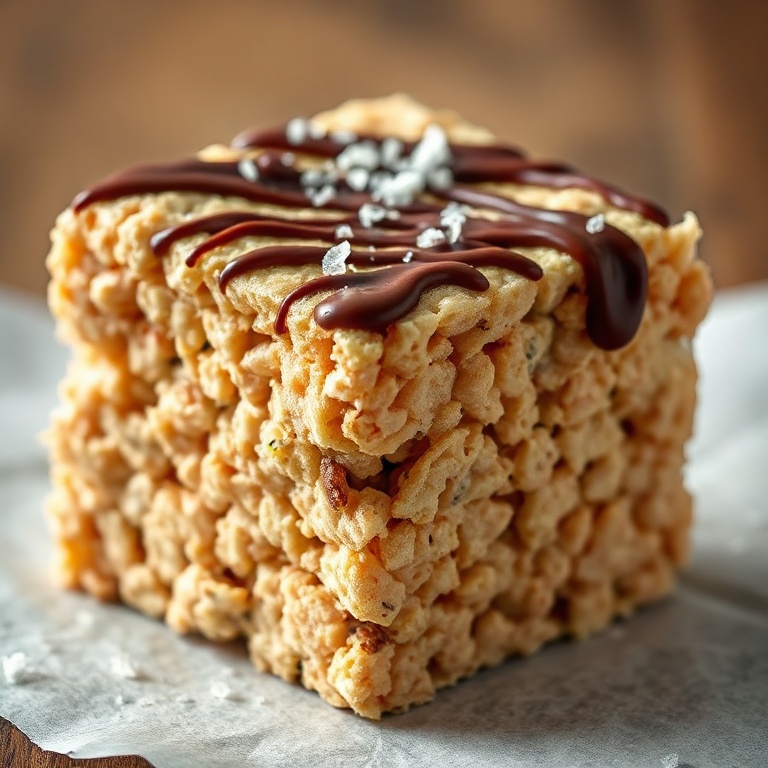
Easy Chocolate Peanut Butter Rice Krispie Treats
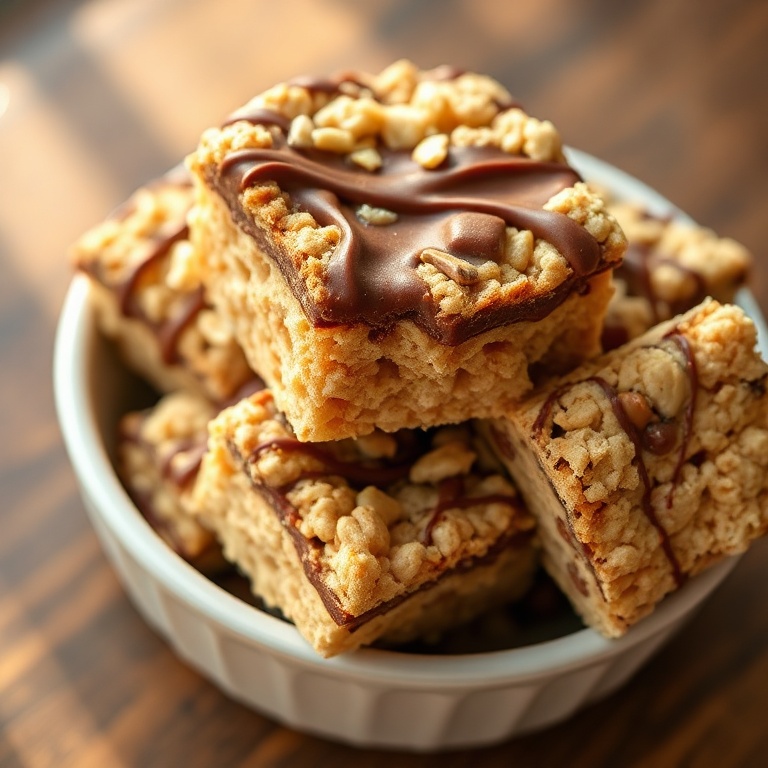
Easy Chocolate Peanut Butter Rice Krispie Treats promise a creamy, chocolatey, and peanut buttery bite every time. I’ve made this dozens of times. The trick I discovered is using a combination of melted chocolate and peanut butter for extra richness. Crispy edges and melty center make this treat irresistible. Try my Creamy Crockpot Ground Beef Pasta for a satisfying dinner. If you love recipes like this, you’ll also enjoy Creamy Crockpot Ground Beef Pasta Recipe for Easy Dinners and Easy Sushi Bake Recipe with Creamy Crab and Furikake.
Why This Easy Chocolate Peanut Butter Rice Krispie Treats Is Pure Comfort
- Crispy edges and gooey center
- Easy to make in minutes
- Perfect for any snack time
- Rich chocolate and peanut butter blend
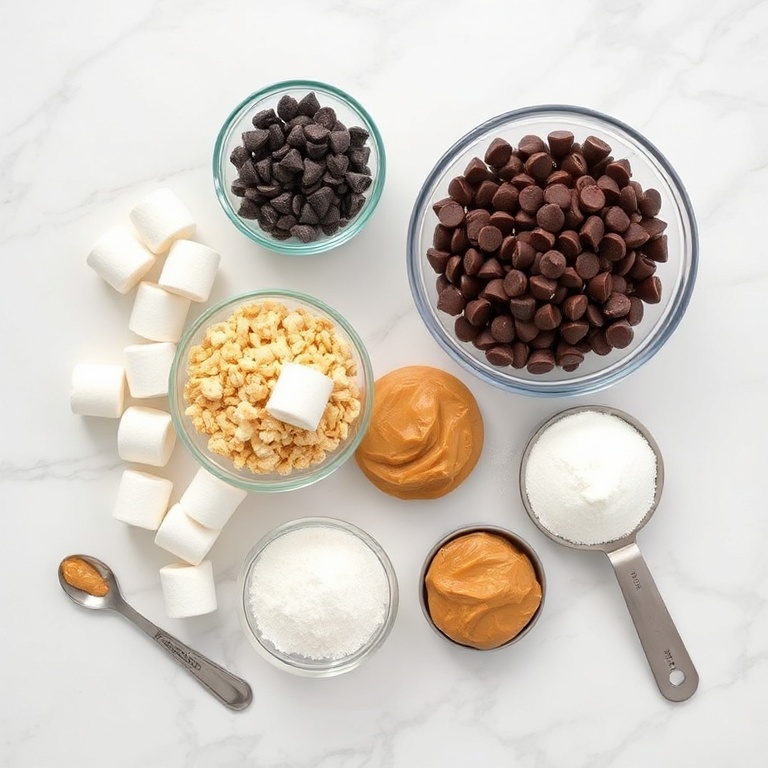
What You'll Need for Easy Chocolate Peanut Butter Rice Krispie Treats
Choosing the right ingredients makes a big difference, but this recipe is forgiving enough to work with what you have.
- 2 cups crispy rice cereal
- 1/2 cup creamy peanut butter
- 1/2 cup mini marshmallows
- 1/2 cup semi-sweet chocolate chips
- 1/4 cup butter
- 1 tsp vanilla extract
- Pinch of salt
- Optional: Drizzle of melted chocolate
- Optional: Sprinkle of sea salt
- Optional: Crushed peanuts
📝 Ingredient Notes
- Crispy rice cereal: Use a brand you're familiar with for the best texture.
- Mini marshmallows: They melt more evenly than large ones.
🛒 Tools & Equipment I Recommend
- Heatproof Mixing Bowl — Ensures even melting of ingredients without burning. → See on Amazon
- Baking Sheet — Provides a smooth surface for pressing the mixture. → See on Amazon
How to Make Easy Chocolate Peanut Butter Rice Krispie Treats
- Step 1: In a large bowl, mix the rice cereal, marshmallows, and peanut butter.
- Step 2: In a saucepan, melt the butter, chocolate chips, and vanilla extract over low heat.
- Step 3: Pour the melted mixture into the cereal bowl. Stir until well combined.
- Step 4: Press the mixture into a greased 8×8-inch baking dish. Let it cool completely.
- Step 5: Cut into squares and serve. Add toppings if desired.
Cook's Tips for Perfect Easy Chocolate Peanut Butter Rice Krispie Treats
- Texture: Use a silicone spatula to mix for better coverage and less mess.
- Common mistake and fix: If the mixture is too dry, add a splash of milk to help bind it.
- Storage: Store in an airtight container at room temperature for up to 5 days.
- Serving: For a cooler treat, refrigerate for 15 minutes before cutting.
Storing & Reheating Easy Chocolate Peanut Butter Rice Krispie Treats
Short-Term Storage
Store in an airtight container in the fridge. Store in an airtight container in the fridge for up to 3 days. Make-ahead tip: Make up to 2 days in advance and store in an airtight container.
Freezing Easy Chocolate Peanut Butter Rice Krispie Treats
Freeze in a sealed container for up to 2 months.
How to Reheat Without Drying It Out
Oven: Reheat in a preheated 300°F oven for 5–10 minutes. Microwave: Heat in 20-second increments until warm.
Recipe Notes
- Chef tip: For a more intense flavor, add 1/4 cup of crushed peanuts to the mixture.
- Best substitution: Use almond butter instead of peanut butter for a nuttier taste.
- Make-ahead: Make the treats up to two days in advance for maximum flavor.
- Scaling: Adjust the quantities proportionally for a larger batch.
- Troubleshooting: If the mixture is too sticky, add a bit more rice cereal to balance the texture.
Want to level up this recipe?
Lid for Baking Dish — Helps keep the treats from drying out when stored. → Check price on Amazon
Easy Chocolate Peanut Butter Rice Krispie Treats
Ingredients
Main Ingredients
- 2 cups crispy rice cereal
- 1/2 cup creamy peanut butter
- 1/2 cup mini marshmallows
- 1/2 cup semi-sweet chocolate chips
- 1/4 cup butter
Seasonings
- 1 tsp vanilla extract
- Pinch of salt
Optional Toppings
- Drizzle of melted chocolate
- Sprinkle of sea salt
- Crushed peanuts
Instructions
- Step 1: In a large bowl, mix the rice cereal, marshmallows, and peanut butter.
- Step 2: In a saucepan, melt the butter, chocolate chips, and vanilla extract over low heat.
- Step 3: Pour the melted mixture into the cereal bowl. Stir until well combined.
- Step 4: Press the mixture into a greased 8×8-inch baking dish. Let it cool completely.
- Step 5: Cut into squares and serve. Add toppings if desired.
Notes
- Chef tip: For a more intense flavor, add 1/4 cup of crushed peanuts to the mixture.
- Best substitution: Use almond butter instead of peanut butter for a nuttier taste.
- Make-ahead: Make the treats up to two days in advance for maximum flavor.
- Scaling: Adjust the quantities proportionally for a larger batch.
- Troubleshooting: If the mixture is too sticky, add a bit more rice cereal to balance the texture.
Storage
- Fridge: Store in an airtight container in the fridge for up to 3 days.
- Freezer: Freeze in a sealed container for up to 2 months.
- Oven reheat: Reheat in a preheated 300°F oven for 5–10 minutes.
- Microwave reheat: Heat in 20-second increments until warm.
- Make ahead: Make up to 2 days in advance and store in an airtight container.
Nutrition Per Serving
- Calories: 150
- Protein: 2g
- Fat: 5g
- Carbs: 20g
- Fiber: 1g
- Sugar: 8g
- Sodium: 100mg
- Cholesterol: 10mg
- Sat. Fat: 2g
Nutritional values are estimates only. Actual values may vary by brand and portion size.
Easy Chocolate Peanut Butter Rice Krispie Treats FAQs
Yes, you can make them up to two days in advance. Store them in an airtight container at room temperature.
This happens when there's not enough marshmallow melted into the cereal. Add a bit more melted marshmallow or a splash of milk to help bind the mixture.
Yes, freeze the treats in a sealed container for up to two months. Let them thaw at room temperature before serving.
No, the traditional method works best using a stovetop to melt the ingredients.
You can use corn flakes or another crispy cereal as a substitute. Just make sure it's a similar grain base.
A Warm Final Note
I can’t wait for you to try Easy Chocolate Peanut Butter Rice Krispie Treats and see how effortlessly it comes together. When you make it, pop back here and leave a rating or share how it turned out — I love hearing from you!